
Table of Contents
So you have a WordPress Multisite installation and want to extract one Subsite (or convert all of them subsequently) from the multisite setup to a single standalone site. How to do this without issues? There are three different approaches and they will be described here. With our recommended step by step guide, which is verified and works every time for all your child sites, whether they are on sub domains or sub directories, costing just minutes and no money at all!
In case you don’t have a WP Multisite setup yet and just want to read about how to deinstall it if you don’t like it, you may want to read our post Why and why not to use WordPress Multisite? More WordPress information is at your disposal on our pillar page WordPress Resources.
3 Ways to move a Subsite out of a WP Multisite Installation
Before we start with the steps, we have to be clear about what we want to achieve. If we are moving a single site out of a WordPress Multisite installation to a single WordPress installation, we don’t want to lose any data.
That means that we will need to make a backup.
#1 – The manual Way
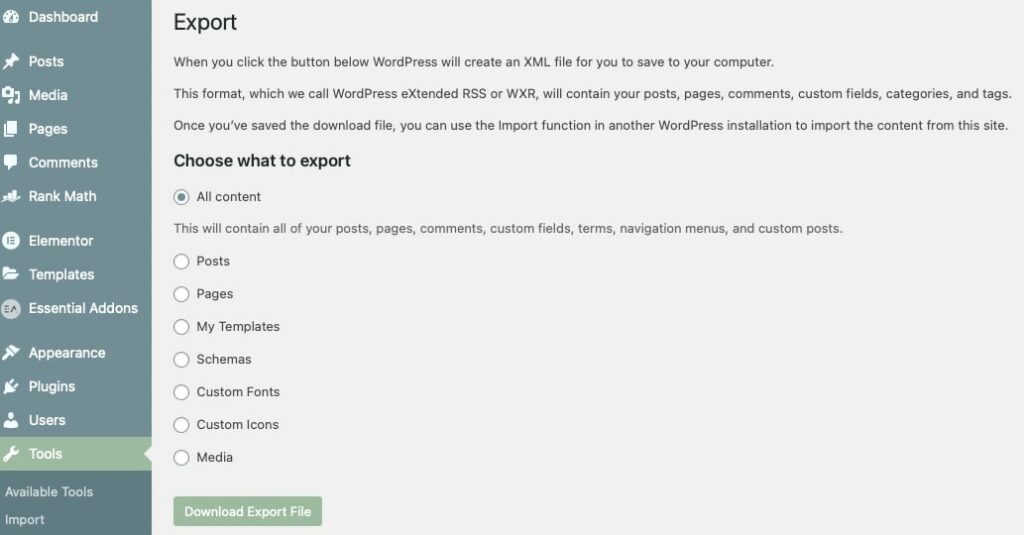
We have tried the manual method to extract a Subsite out of a WordPress Multisite install and do not recommend it. WordPress has a built-in Tools -> Export function which produces an XML file to download and import back into a new wordpress installation. This XML contains all of your posts, pages, comments, custom fields, terms, navigation menus, and custom posts.
For the images, you have to manually copy those from your wp content folder at /wp-content/uploads/sites/5/* (replace 5 with your multi site ID) to your new site installation in /wp-content/uploads/*. You also need to manually install all plugins again and export/import or re-do their configuration. Lastly, the database tables of your subsite need to be migrated with manual effort to replace the image links (see above) and all other references including the “/sites/5” links.
If you want to do it the manual way, there is a tutorial for that:
#2 – Multisite Migration using paid WordPress Plugins
We do recommend #3, which is essentially the free version of #2. No need to use any of the available commercial plugins for your migration, just continue reading on.
#3 – Our recommended Subsite to Single Site Migration using free WordPress Plugins
We recently did a complete extraction of 5 WordPress Multisite Sub Sites onto 5 separate installations, without any errors and follow-ups, considering and testing everything. We were done within 1 hour for all sites in total! Also want to do the migration?
Just follow these steps:
The Step by Step Process to extract a WP Multisite Subsite to a Standalone WP Site
First things first, always make sure you have a recent full and working backup before you touch anything.
Step 1 – Exporting the Subsite
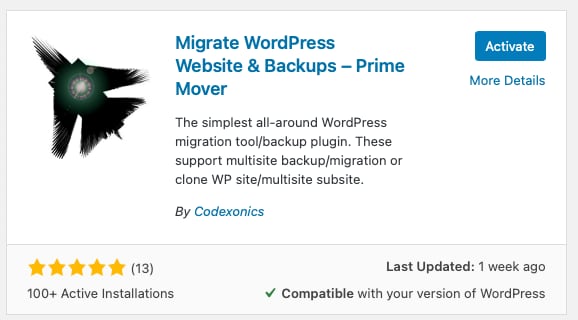
Go to your WordPress Dashboard and log in as the network administrator. On WP Multisite you can only install plugins when you are on the central network admin dashboard, so open it, go to plugins and install the following free plugin that will assist with the smooth migration:
It’s called Prime Mover by Codexonics and out of all the plugins we have tested, this is the only one that worked as expected, every time.
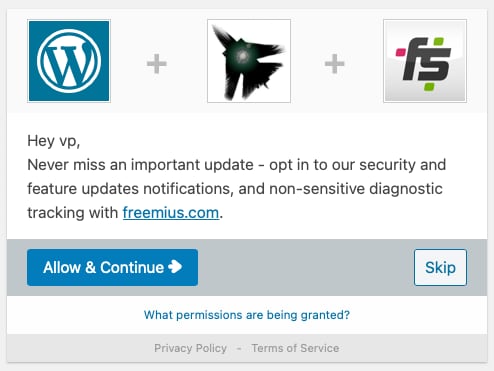
After installation of the plugin, go and activate it. You can hit “skip” in the setup screen in case you do not want to opt in to the notifications.
Head over to the Sites screen within the WP network administrator dashboard:
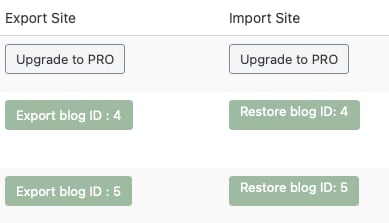
And hit export for the website you want to migrate to a single site install. In Export Options select “Export database, media files, plugins and themes“, which is about everything.
Keep note of the site id which is written next to Export blog ID: #. We might need it later!
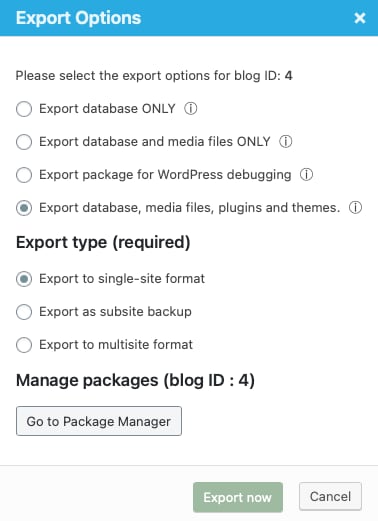
Select Export Type of “Export to single-site format” and hit Export now.
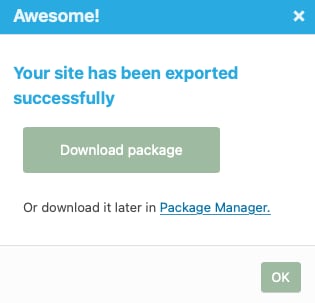
Note: The export might take up to a couple of minutes and might be fairly large, depending on your websites size. This file contains everything, from the users, the wp content folder, such as images, to database entries (SQL file), plugins, themes and all the real content like posts, comments and settings. No matter what theme you use or if you use a page builder like Elementor, Divi or others, the process is the same and works for all!
Step 2 – Switching the Domain to the new Web host or Directory on the same server
This is where the downtime happens. Usually the whole process should be done within 10 minutes from here, but be prepared that for some of these 10 minutes your website might be unavailable to visitors, so you may want to continue with this step at a time where your website is not under peak load.
Switch over your Domain to your new server’s IP address.
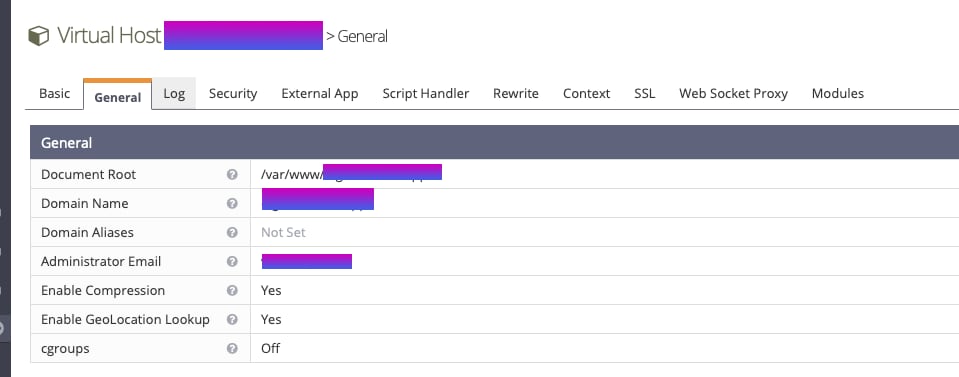
If you stay on the same host, create a new directory in webroot and switch the domain to the new directory. For litespeed this would be done by changing the Virtual Host Document Root within the General settings. Restart your webserver for the change to take effect.
Step 3 – Installing WordPress on the Destination and preparing the Database
(only if you have your own Linux server, skip to #4 otherwise)
If you have a regular Webhosting plan for your websites and not run your own server, have a clean WordPress install is ready and waiting at your domain. In this case skip forward to Step 4.
If you have your own Linux server and redirected the domain of the sub site already to your new and empty directory, move to this directory and do a fresh WordPress installation:
# move to your new wordpress directory and
# download the latest wordpress file
wget https://wordpress.org/latest.tar.gz
# uncompress it
tar xvzf latest.tar.gz
# move it back our of the subfolder
mv wordpress/* .
# remove the compressed image and the empty subfolder
rm -fr wordpress/ latest.tar.gz
Now copy this content into your .htaccess file in the base directory where also the wp-config.php file is. (If you have no .htaccess file, it will be created)
vim .htaccess
# copy these lines into the file, do not copy straight to CLI!
RewriteEngine On
RewriteBase /
RewriteRule ^index.php$ - [L]
# add a trailing slash to /wp-admin
RewriteRule ^([_0-9a-zA-Z-]+/)?wp-admin$ $1wp-admin/ [R=301,L]
RewriteCond %{REQUEST_FILENAME} -f [OR]
RewriteCond %{REQUEST_FILENAME} -d
RewriteRule ^ - [L]
RewriteRule ^([_0-9a-zA-Z-]+/)?(wp-(content|admin|includes).*) $2 [L]
RewriteRule ^([_0-9a-zA-Z-]+/)?(.*.php)$ $2 [L]
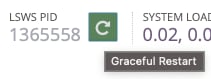
RewriteRule . index.php [L]Now save the file. On vim use 😡 so save and quit at the same time. If you use openlitespeed webserver, gracefully restart it to read the changed .htaccess file. The commercial version of litespeed webserver can handle live changes of this file so no restart is necessary.
Make sure the permissions of the new directory are the same as for the existing ones, so the webserver can read all files:
# check existing permissions for other web directory
ls -l
# and set the same owner for the new directory to the same user:group
chown -R nobody:nogroup mynewwebroot/
Now Create the database in mysql or mariadb:
mysql -u root -p
# enter your database root password
# Enter password:
# Welcome to the MariaDB monitor.  Commands end with ; or g.
# MariaDB [(none)]> c
# enter the following lines into the mysql/mariadb console and not on your bash
# replace with your own values!
create database mynewsinglesite;
# Query OK, 1 row affected (0.000 sec)
grant all privileges on mynewsinglesite.* to 'wordpressuser'@'localhost' identified by 'VerySecurePassword123!';
# please use a secure password and not the one from this example ;-)
flush privileges;
Now open your new WP install by visiting https://yourdomain.com/
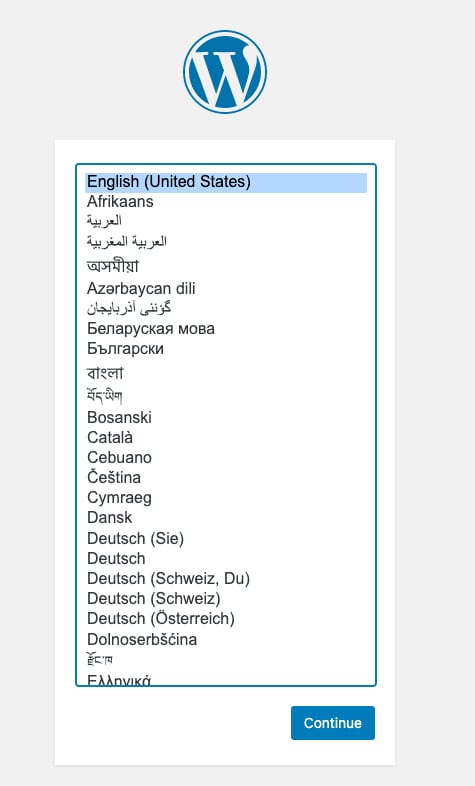
Set your language and hit continue.
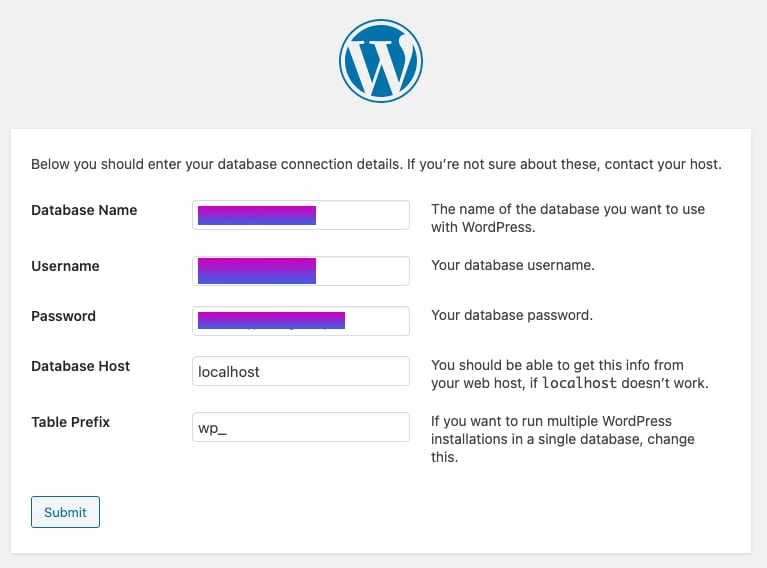
On the next screen enter your database details such as the database name (example above was mynewsinglesite), your database username and the secure password you have entered in the mysql console. The database host is usually localhost if your database is on the same server as your wordpress site. You can leave the Table Prefix at wp_ since your new single site uses its own database and all the wordpress database tables will be unique to this site. Hit submit. And note your database name, user name and password.
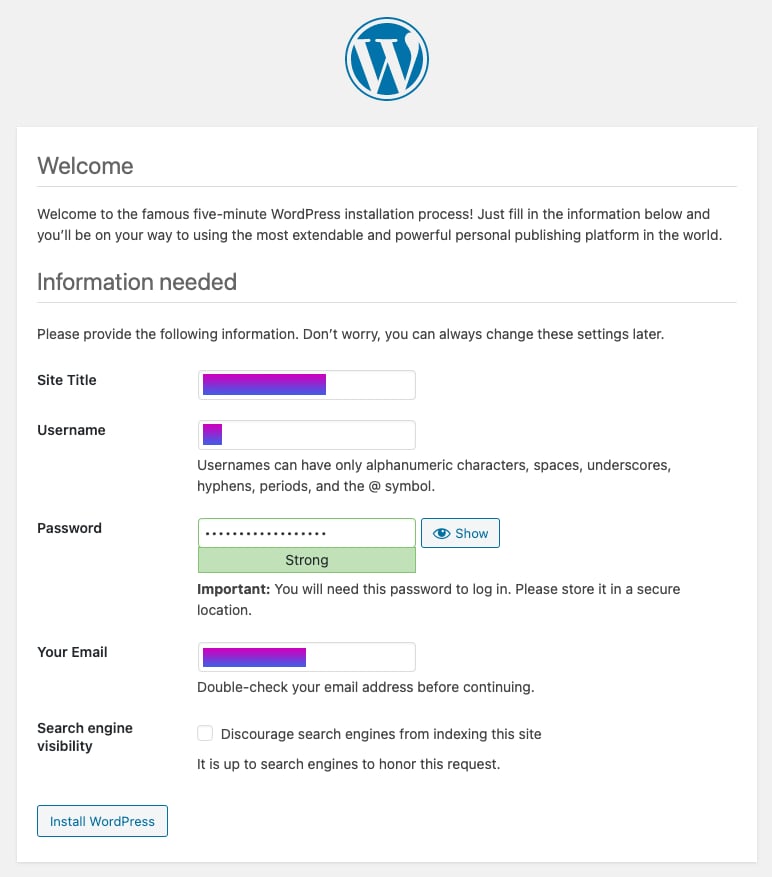
On this last screen enter any site title, this will be overwritten by the import file anyway. Set a user and password.
Finally hit Install WordPress and then log in using your site address.
After logging in, first delete the Hello World posts and go to the plugin menu. Delete the two default WP plugins. Then continue to Step 4.
Step 4 – Importing the Subsite
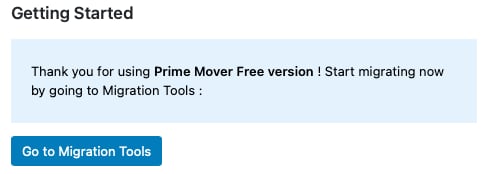
Install the Prime Mover Plugin in your fresh single site installation again:
Hit skip on the first screen:
Go to migration tools:
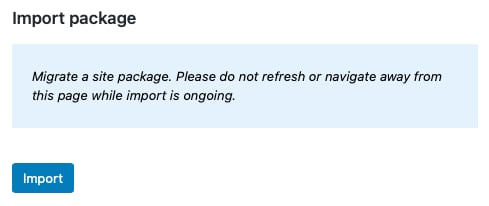
Click import:
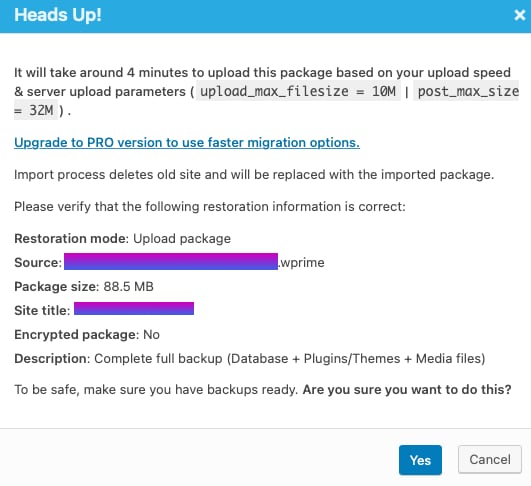
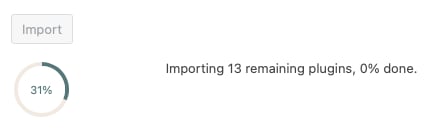
Click yes and wait a couple of minutes:
And we’re done!
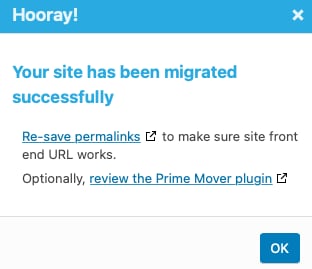
Now click Re-save permalinks to fix the links. If you skip this part, all you internal links will produce a 404 – not found HTTP error.

On the WP Permalinks screen just click Save Changes without changing anything. This enables WordPress to re-save the previously stored permalinks from your old multisite network website.
Lastly go to the Plugins in your WP Admin dashboard and delete the WordPress MU Domain Mapping Plugin. It was used to enable the Multisite network but is not needed for the new single site install anymore. It might have thrown you a warning already:


If you want to change or remove any previous network plugins that you don’t need anymore, you can do that now.
Step 5 – Testing and Verification
We’re done with the big part of the migration now, have themes and plugins, permalinks, content and all taken care of with the the easy import export functionality and good preparation.
Now open your website using its regular (public) site address in an anonymous session of your browser and check it. It should be fine.
If you get 404 Errors for Images or CSS/Javascript clear all caches
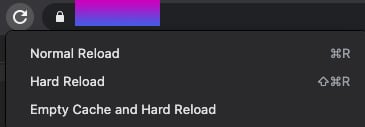
if you get 404 errors for images or js/css this is most likely due to some caching still active and serving old files out of cache. Verify your Cloudflare cache and any other caching on the server (WP Rocket, Autoptimize, …) or in front of the server (e.g. ezoic caching, Nitropack) and of course your local browser cache are all clear. try again after clearing all caches within a new anonymous session in your browser or even use another browser for testing and for Chrome use Empty Cache and Hard Reload.
Give the caches a couple of minutes to clear, because for most external ones like Cloudflare, ezoic, Nitropack and similar services, clearing is not instant but happens within a minute or two.
404 Errors due to old WordPress Database references from subsites
if you still experience 404 errors after a couple of tries, install the free Search & Replace WordPress plugin and look for any old references in the WordPress database from the old multisite days, usually in the format /wp-content/sites/5/ (replace 5 with the site id you noted from your previous install). You should see the number in the error messages from your browser (use the browser’s console, within Chrome developer tools or the Safari Javascript Console).
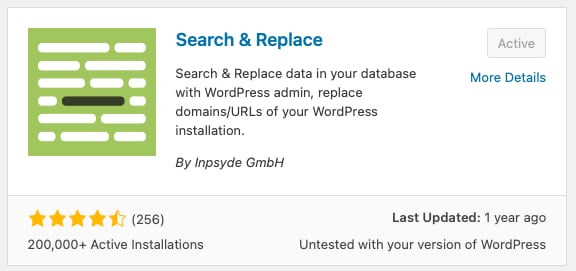
Install and activate the Search & Replace Plugin from here https://wordpress.org/plugins/search-and-replace/
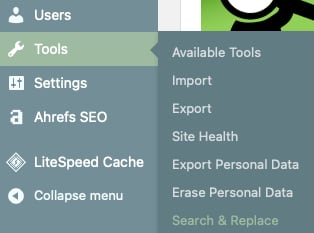
On your single WordPress admin screen Go to tools > Search & Replace.
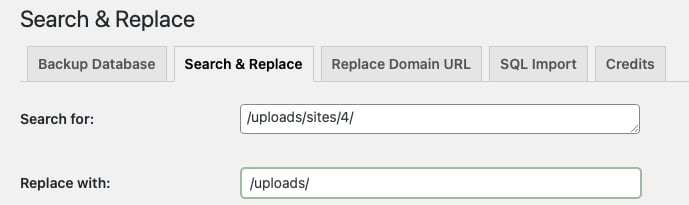
In the Search & Replace tab enter /uploads/sites/4/ in Search for (replace 4 with your site id):
And enter /uploads/ in Replace with:
Hit Select all tables and Dry Run:


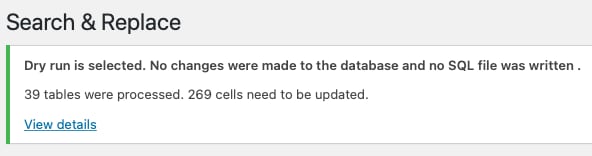
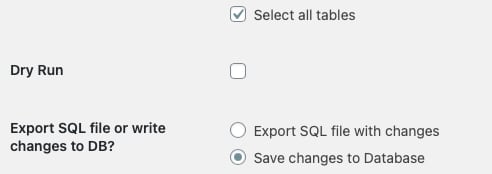
If you get any cells that “need to be updated” (more than 1), then proceed with the real production run, entering Search for:, Replace with:, Select all tables again, and this time don’t select Dry run but select Save changes to database:
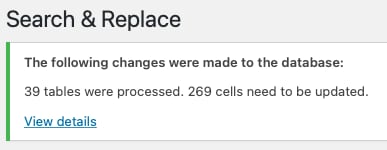
The changes have been made directly in the site database.
Also search for \/sites\/4 and replace with: nothing (but replace the 4 again with your site id), because in some cases like Elementor lightbox image previews, the actual image is shown but when clicking on it to show it in the lightbox, nothing is displayed (404 error). The database entries for these are \/sites\/4 with double backslashes for escaping.
404 Errors because of old Elementor CSS
For additional troubleshooting on Elementor you can clear its own CSS – some of the image references are included in CSS.
Go to:
Elementor > Tools > Regenerate CSS / Regenerate Files
And always clear all of your caches!
Permalinks not working because you missed copying/modifying the .htaccess file
For us, some additional old references were still existing in one of our migrations, because we did not copy the old .htaccess BEFORE import, so neither the post slugs (permalinks) nor the image references could be replaced due to permission issues. If you made the same mistake, just try again importing into a clean WordPress install and make sure to copy or modify the .htaccess file before import! On Openlitespeed, also make sure to gracefully restart the webserver to make sure the new .htaccess file is processed. Only on the commercial version of litespeed the .htaccess files can be modified live without a graceful restart.
Revert your Main Site from WordPress Multisite to Single Site
In case you have moved every child site out of the wordpress multisite installation already and also want to move your main site, the last steps are quick, straight forward and without much risk. I suppose you have verified all sites are working and are still having a backup of the original install at hand.
Step 1 – Deleting all WP Child Sites from the WP Multisite Network
Open your WordPress Multisite Network Admin Dashboard and really make sure you are on the correct one. You do not want to delete a newly exported single site 😉
Delete every subsite until the multisite network is empty and the only remaining site is your primary site. WordPress automatically removes the database tables for each sub site, the images and other data in /wp-content/, so the wordpress install is cleaned up a bit already.
Step 2 – Changing the WP Config PHP file
Now open your favorite text editor (we use vim) and edit the wp config php file at /var/www/wp-config.php or at your specific www root directory of your old wordpress install.
Delete the following line and save the file:
define('WP_ALLOW_MULTISITE', true);Reload your WordPress Dashboard. It should now be the same dashboard like for a single site wordpress install. Welcome to your new site! 😉
Step 3 – Cleaning up your new Single Site Installation
Since the WP database has already been cleaned up, the only task left in this case is to clean up any plugins that you don’t need be deleting them. All the previously active plugins stay active and the plugins that you have not used for your main site will be inactive, so it is pretty easy to find which ones you probably can delete.
Do go over the settings of your plugins briefly to make sure they are as expected. The migration process takes care of everything but in some rare cases like with our litespeed cache plugin, some settings were actually put on the network instead of per site. These settings had to be re-created manually on the new single site.
For the old primary site there is no need to do anything in your database, since it did not use the /sites/5/ layout of a sub site in the first place.
Congratulations! All done
The wordpress multisite to a single site migration is straight forward and should work exactly as described. You do not even need to put your websites into maintenance mode. In case you need help or encounter any issues, leave a reply.